


OUR BLOG

‘Camperburban’ Platform Build
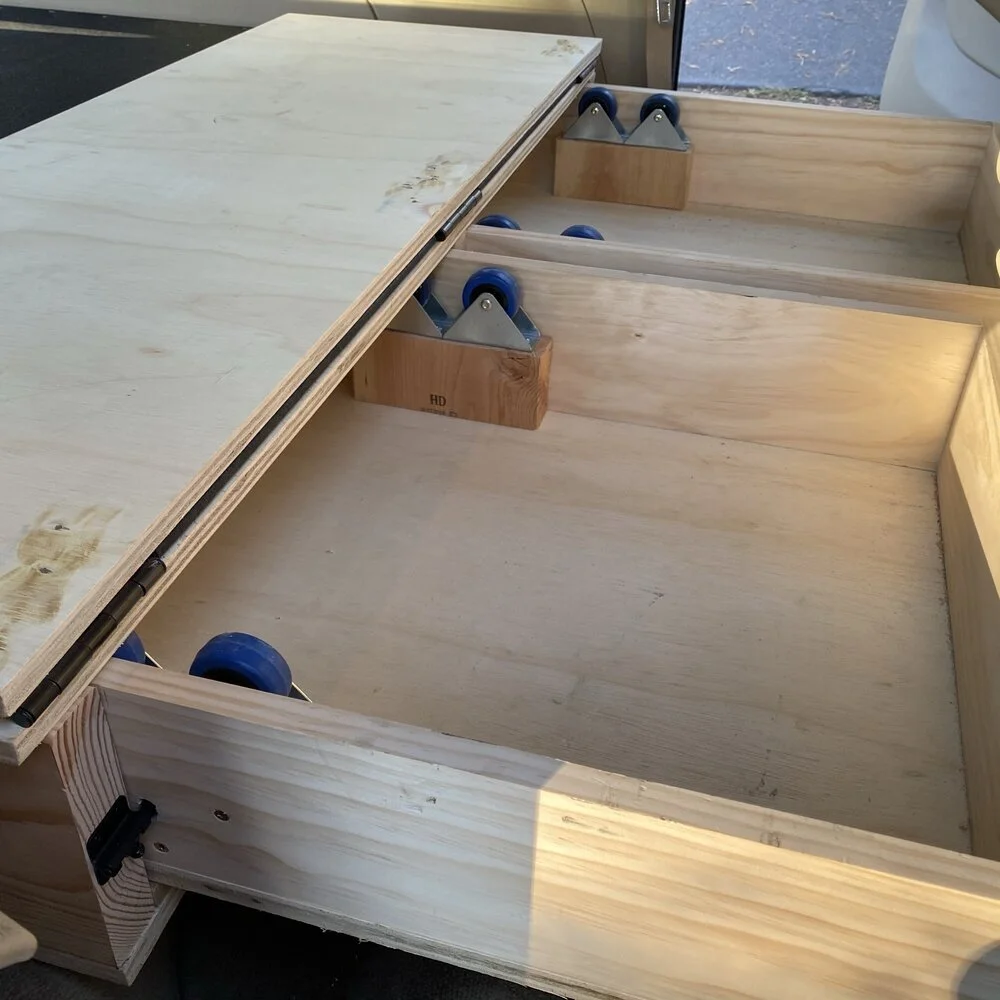
The platform is the base of the entire interior “camperburban” build. I kept the construction very simple it is basically a box with two drawers sitting on ball bearings. All the building materials I sourced from Home Depot, Harbor Freight, a local hardware store - Diamond Home Improvement, and a few items off Amazon.
DISCLAIMER - This is not a how-to build of the platform but rather an explanation of what I did that worked for me personally. Please feel free to use this as inspiration for your own build.
The platform is the base of the entire interior “camperburban” build. I kept the construction very simple it is basically a box with two drawers sitting on ball bearings. All the building materials I sourced from Home Depot, Harbor Freight, a local hardware store - Diamond Home Improvement, and a few items off Amazon.

Image caption
For the wood I used:
3/4 inch sanded birch plywood for the top and bottom of the box and bottom of the drawers
2x8 inch construction grade Douglas Fir beams as the vertical supports
1x2 inch strapping I had leftover from another project
1x6 inch select grade pine for the drawer sides
For hardware, the kit is extra basic
1 1/2 inch wood decking screws
36 inches of 2 inch by 1/8 inch thick metal plate. This was bent into an “s” shape and used to bolt the front of the box to the rear seat mounts
Two stainless steel turnbuckles (Amazon) to secure the structure
Two stainless steel 8mm ring bolts (Amazon) to mount the turnbuckles
Two lag screw hooks to mount the turnbuckles
1-inch roller bearings & 2-inch casters from Harbor Freight as makeshift drawer slides
Two 2-inch D-ring loops for strapping the cooler
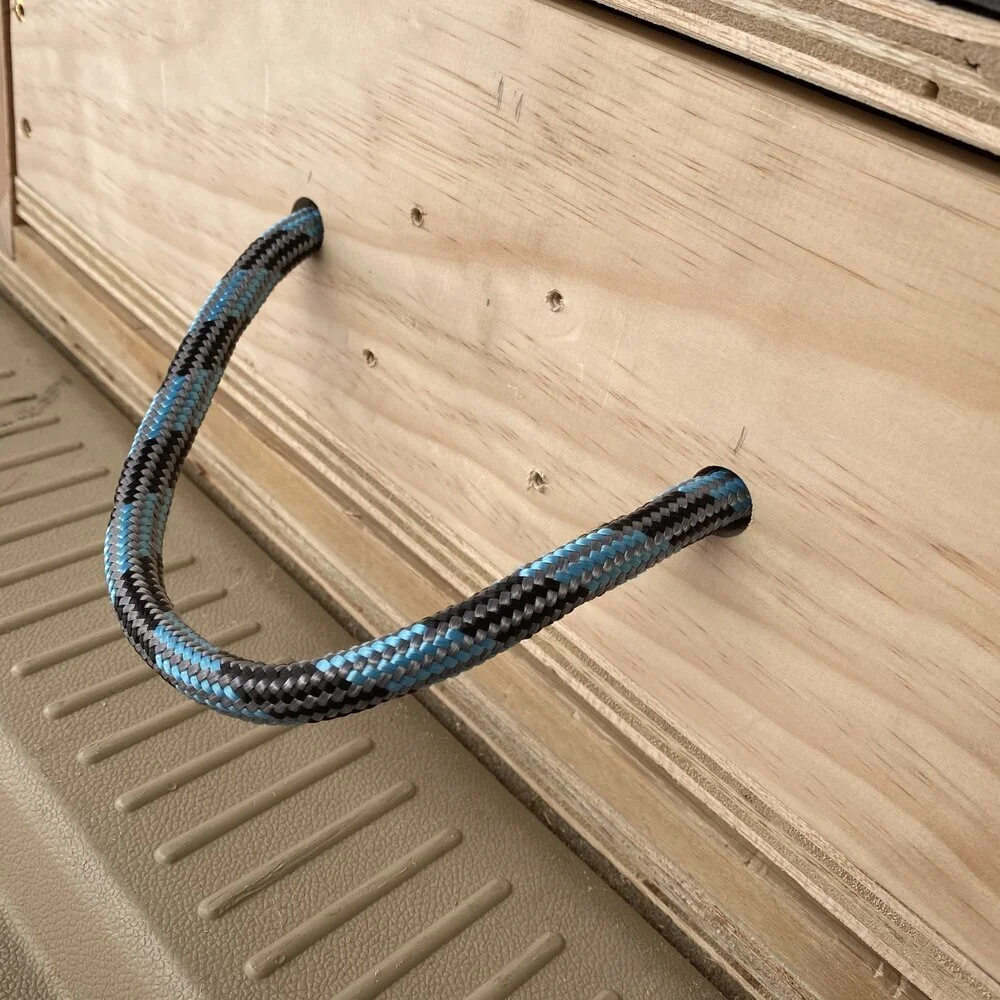
Gate handles - I opted to swap these out for simple rope loops for handles. The gate handles worked great but was loud as they shimmied when Jack was in motion.
Door hinges for the extension flap
Barrell bolt latches for locking the drawers closed
14 feet of 24-inch wide rubber mat
8 cans of Rust-Oleum flat black spray paint
2 cans of Rust-Oleum satin clear coat
Looking at this I am sure you have questions, let me see if I might be able to answer a few.
Why did you not use drawer slides?
I chose not to use traditional drawer slides as I wanted the drawers to slide through the platform. Slide back out the tailgate and forward into the cab. It is the forward slide that the 24-inch flap-folds onto to support the full-length mattress.
Do you have plans or blueprints for the build?
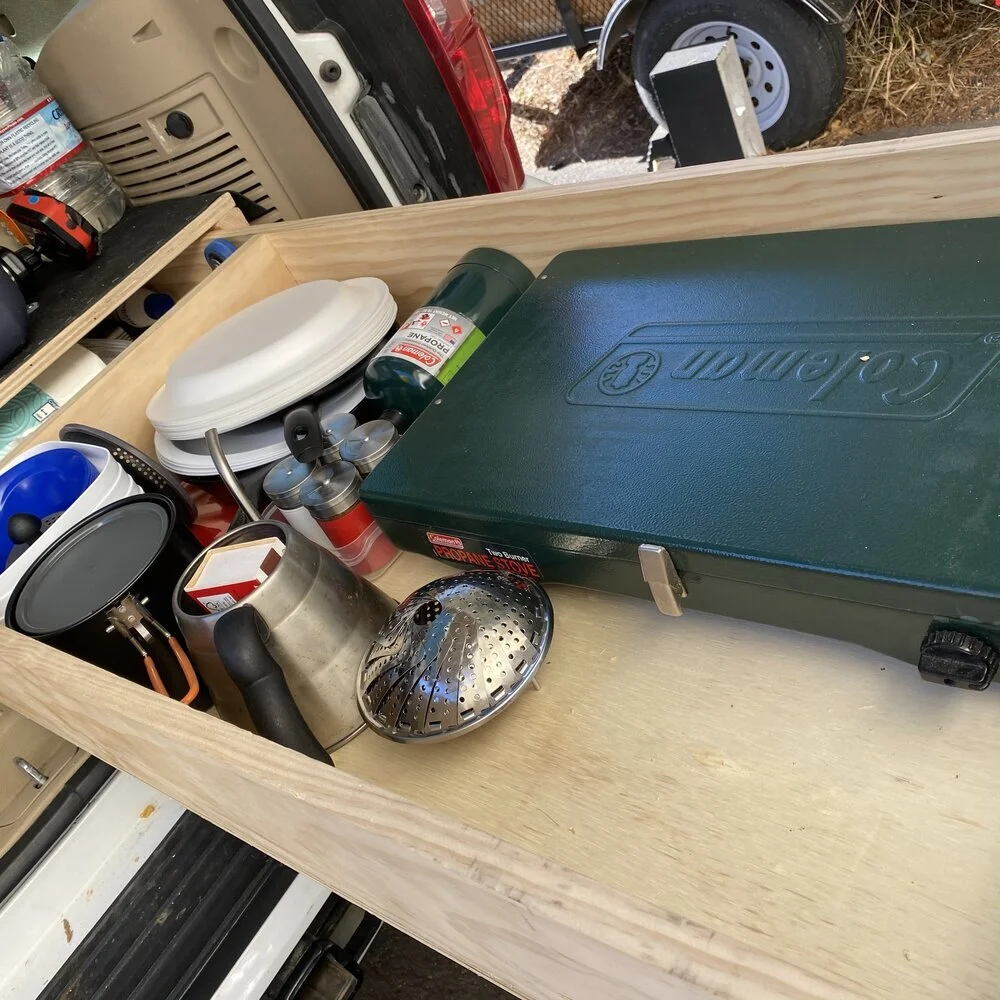
No, I do not have a set of plans for this build, nor do I have step-by-step instructions on how to construct the platform. What I do have is a large number of photos from the construction of the project. Feel free to browse through the photos for inspiration for your own build.
What mattress do you use?
I first purchased a full-sized 8-inch cooling gel mattress off Amazon on Prime Day. This mattress was extremely comfortable but it was just too tall. There was not much headroom left when laying on the mattress. I ended up selling that privately and ordering a full-sized 4-inch tri-fold memory foam mattress instead. I have not yet (as of the time of writing this) slept on this mattress yet. However, it fits the vehicle much better and provides an extra 4-inches of clearance versus the previous mattress.
If you have any other questions not answered above feel free to ask in the comments below or check the FAQ you might find what you need there too.


LIKE / FOLLOW / SUB

STICKER MERCH
JACKS BUILD
Curious as to what gear we have in Jack? Check out our rig details page.